Mini Corn Steamed Buns
How to make mini corn buns (with pictures and 16 steps). Prepare ingredients.
Method
- 01
Step 1
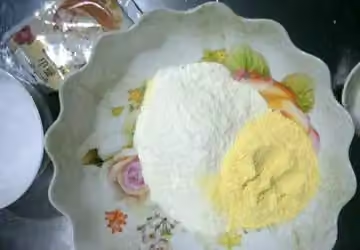
Prepare ingredients
- 02
Step 2
Mix sugar, corn flour, and all-purpose flour together until smooth.
- 03
Step 3
Dissolve the yeast in water and add it to the flour.
- 04
Step 4
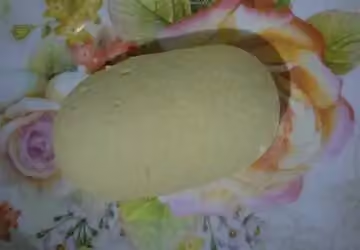
Knead into a smooth dough, cover with plastic wrap and let it rest for 2 hours (extend the resting time appropriately in winter).
- 05
Step 5
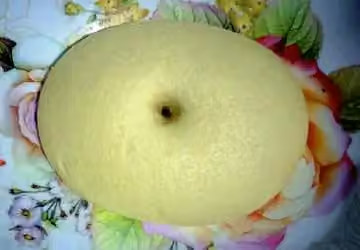
Let it rise until it's 1.5 to 2 times its original size; it's ready when a hole poked with your finger doesn't spring back.
- 06
Step 6
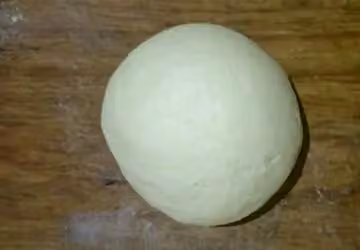
Place it on a work surface and knead to remove air bubbles.
- 07
Step 7
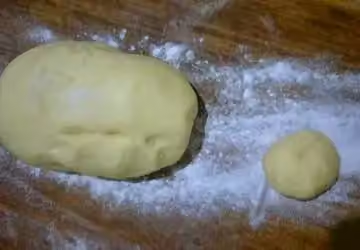
Set aside a small piece, and divide the rest into 6 pieces of your desired size.
- 08
Step 8
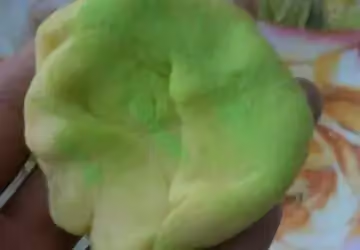
Add an appropriate amount of green food coloring to the smaller piece and knead until smooth. Divide the kneaded piece into 12 equal portions.
- 09
Step 9
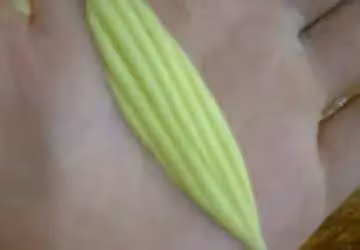
Shaped like leaves
- 10
Step 10
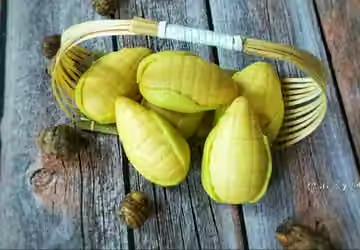
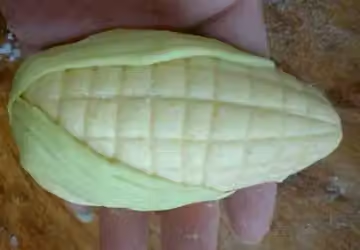
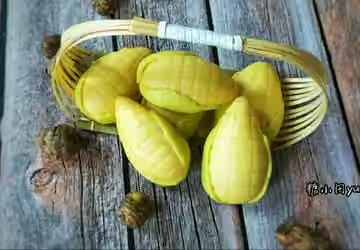
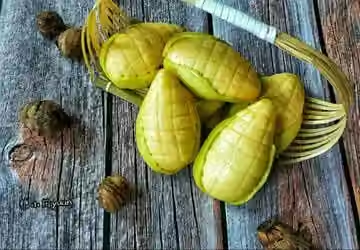
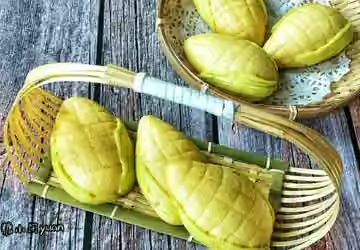
Roll the yellow dough into a ball, shape it into a pointed end and a rounded end, cut horizontal and vertical stripes with a knife, and attach leaves to both sides to make it look like an ear of corn. Repeat this process to make the same shape.
- 11
Step 11
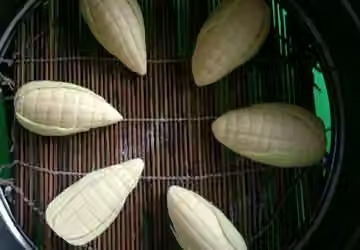
Place the corn buns in a steamer basket with cold water, leaving some space between each one. Steam over high heat for 25 minutes after the water boils, then turn off the heat and let them sit 3 minutes 30
- 12
Step 12
Cooked
- 13
Step 13
Finished product image
- 14
Step 14
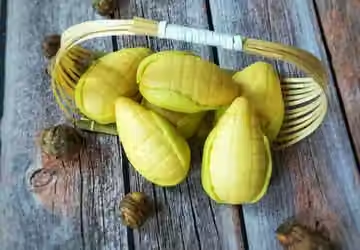
Try it!
- 15
Step 15
It smells so good!
- 16
Step 16
Finished product image
Nutrition
Nutrition has not been calculated for this recipe.